health

Fibro Friday – Addressing My Wrist Pain

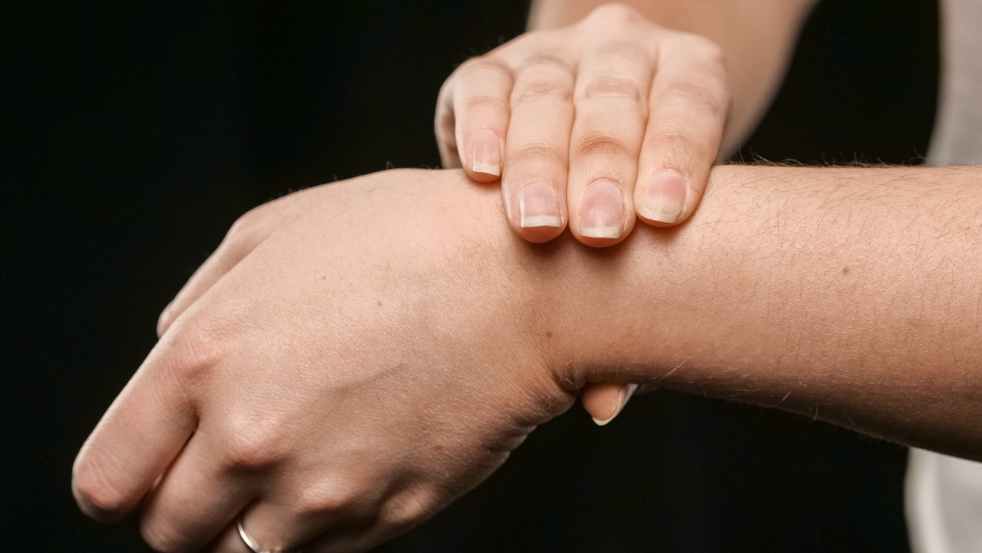
It’s been a while since I’ve done a Fibro Friday post, though I’ve been posting fibro videos over on my YouTube. Last month, I started physical therapy for my wrist pain that I’ve suffered from since 2018(!). I recall when I first had pain in my wrist, which was so intense that I went to the emergency room. The pain made it impossible to write more than a page in my journal at a time. Being unable to write with the same fervor that I used to was a heartbreaking experience and, while I wanted to get relief for the pain, I had far more pressing issues to address (like my other fibro issues). So I shelved the wrist treatment until recently.

So I started physical therapy. I posted this video on June 10th, and I’ve done some therapy sessions after filming this video. In fact, I’ve completed my series of sessions, and now I get to do the work on my own to continue rehabilitating my wrist. So I’ve seen even more progress since I filmed originally. Here’s the video discussing my physical therapy:

Now that I’ve completed physical therapy, I have a much better understanding of what my wrist needs to be its healthiest and strongest. I need exercises that both relieve stress as well as strengthen the muscles. The strengthening is the key point for me: the pain kept me from moving my wrist in a normal way, and due to this, I lost a lot of my original strength. Restoring my wrist strength is crucial to my healing journey. That, along with exercises to help with the flexibility and grip function, will help me to get back to my former glory.

I’m looking forward to giving you all updates in the months to come, as I progress in my healing journey. I’m excited to see how things go!

Anyhoo, that’s it for today. I hope you all have a great weekend. Talk to you all soon!

health

Fibro Fridays: Morning Routine for Relief

Happy Fibro Friday! I’m glad that we’ve completed another beautiful week, and I’m hoping that all of you are feeling refreshed and relaxed.

On this fibro journey, one thing that I’d been resistant to was routine. I enjoy doing things at the spur of the moment, and I used to feel that routines kept me from living a fun and spontaneous life. As it turns out, routine has been a saving grace for me. Between getting into the regular habit of taking certain prescription medications, having regularly scheduled visits to physical therapists, and creating better sleep hygiene, I can see where routine is critical to my pain management strategy.

I noticed that I had morning, mid-day, and evening routines that have helped a lot with minimizing my pain and discomfort. So, I took note of my current practices and decided to film my lists. For this week, I filmed my morning routine. You can watch the video here:

The four things I’m currently doing are as follows:

1) Drink 8-16 oz of room temperature water upon waking. I’m always so thirsty when I first wake up, so this is crucial to helping me gently start my day.

2) Complete 5-10 minutes of bed yoga and stretching. Again, starting my day gently is vital: part of keeping my nervous system calm is to avoid overstimulating routines, such as hopping right out of bed and throwing myself directly into the activities of the day. Gentle stretches warm my body up and get me mentally prepared for the day.

3) Moisturize my skin thoroughly. For me, a hyper-sensitive nervous system has meant more sensitive skin. Fabric that was once fine is now uncomfortable against my skin, but I notice that this discomfort is minimized if I’m well moisturized. I use a body butter formulated by one of my friends, but prior to that, I used a light layer of petroleum jelly. It works great and it keeps my skin from getting dry throughout my day.

4) Consume mostly liquid supplements. When I start my day, I’m not usually in the mood for solid or heavy foods. Likewise, I am almost never in the mood for pills or other supplements that cannot be sipped or added into beverages. I try to make most of my morning supplements some sort of liquid: I find these easier to digest and much more effective for me.

This additional point is something that I’d like to try in the upcoming weeks. I have noticed a little more tooth sensitivity than normal, so I’m going to try using a desensitizing toothpaste (like Sensodyne) to help with that. I’ll try it for a few weeks and I’ll follow up to let you all know whether it’s something I’m going to keep in my rotation.

So that’s my morning routine in a nutshell. I find that these steps help me to have a smooth, gentle and effective start to my day.

That’s all for today! Have a great day and a fantastic weekend, and I’ll talk to you all next week. Take care!

health

Fibro Friday : My Magical Body Balm for Muscle and Nerve Pain Relief

Happy Fibro Friday, friends! I sincerely hope that you’ve had a great week, and I hope that your weekend is amazing!

Recently, I shared with one of my favorite vloggers, Deena from Adventures with Fibro, that I make a body balm that helps with both muscular and neurological pain. I also promised her that I would make a video. And yes, I kept my word.

If you have fibromyalgia, you are already intimately aware of the pain that occurs due to the condition. But if you don’t have the condition, I’ll try my best to explain it to you. The pain that comes from fibromyalgia is often diffuse: it’s not usually concentrated into just one spot. And the pain goes beyond just soreness (as if you overused a particular muscle group): the pain can include stinging, burning, prickly, tingly, or throbbing sensations.

Many of the products available for pain address the muscle component exclusively. So the neurological pain (or neuropathy) remains unaddressed. You usually have to use medication prescribed by a neurologist or a rheumatologist to alleviate the nerve pain. Sadly, these medicines do a poor job of offering relief, and can have a range of awful side effects.*

So I opted to create a product that could give me relief for both body systems (musculoskeletal and nervous). In this video, I give a nice, customizable recipe that can offer you some relief and hopefully make your flare days a little more tolerable. I’m writing out the recipe and instructions on this post, to be followed by a link to the video.

Magic Body Balm (makes 4 ounces (120 ml) of product)

  1. A few weeks prior to making this balm, purchase dried arnica and place 1 or 2 ounces of the dried plant into 2-3 ounces of avocado oil. Let it sit for several weeks in a dark, cool spot, gently shaking the oil every couple of days.
  2. Start by placing the nut butter into the glass bowl.
  3. Fill the bottom of the shallow bowl with less than 1 inch of boiling hot water. You only need enough hot water to cover the bottom of the shallow bowl.
  4. Place the glass bowl with the nut butter into the shallow bowl, allowing the hot water to heat the bottom of the glass ramekin and start melting the butter.
  5. THIS IS CRUCIAL – Avoid getting any water into the liquefying nut butter, the oil additives, or any other ingredients. This will prevent bacteria from growing in the balm.
  6. While the nut butter is melting, strain your arnica infused oil. (Skip this step if you’re using pure arnica oil that you purchased).
  7. Once the nut butter is liquefied, combine it with the arnica infused oil (or the pure avocado oil and arnica oil drops), copaiba oil, davana oil, and fragrant oil of your choice (I prefer tangerine, lavender or peppermint oil). Stir well.
  8. Pour the mixture into the container of choice. Place in a refrigerator to let it cool and set (roughly 1-2 hours). Remove and use on achy, sore body parts.

This recipe is mostly relying on eyeballing the measurements, so if it isn’t exact, try adjusting individual ingredients until you get the consistency you prefer. I’m linking the ingredients and tools above, so you can easily get what you need. I hope this helps you! Take care, and enjoy your weekend.

* Disclaimer: I use two medications for neurological symptoms. I weighed the efficacy versus the side effects, and I determined that it was worth the risk. Discuss the options with your doctor to see what is recommended for your condition.

This post contains affiliate links.